
There are a few reasons why caring for your Tamer is important for its longevity:
- To maintain proper hygiene
- To ensure they last as long as possible
- To achieve the best possible results while taming
A dirty and unoiled Tamer can cause you all kinds of problems. Not only is it highly unhygienic to not clean them, but all that build-up of hair, skin and oils can cause damage over time – meaning your Tamer may need replacing more often and you could even injure yourself.
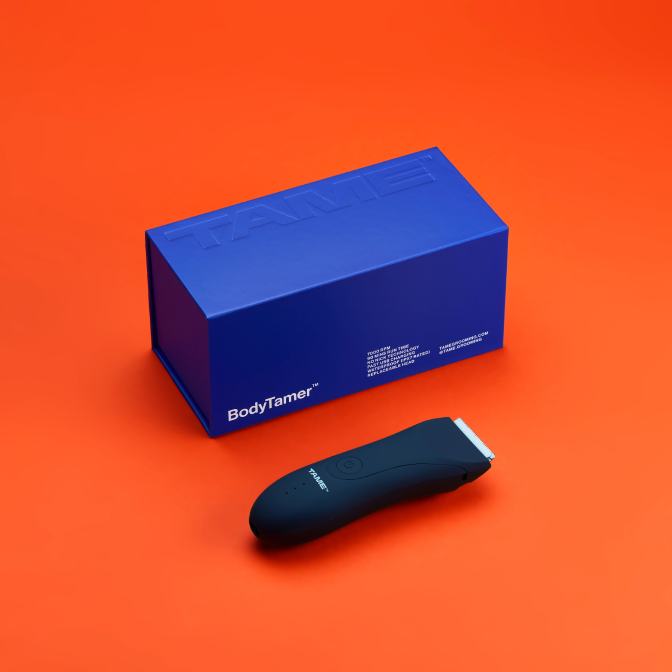
All of our Tamers come with replaceable blades which we recommend replacing every three to four months depending on usage.

Four easy steps to care for your Tamer:
1. Brush
With your Tamer turned off, brush all loose hairs off of the blades. Cut hairs that accumulate between the blades act like sand or gravel and will cause your blade to become blunt more quickly.
2. Cool
Clean and disinfect blades by spraying lightly with a trimmer disinfectant while the your Tamer is running.
3. Oil
Use the 5-point oiling system to lubricate your Tamer and keep it running at top performance. With your Tamer turned on, hold your it sideways and place three drops of oil across the teeth of the blade and one drop on each back rail. After oiling, keep your Tamer turned on and let run for five to ten seconds to disperse the oil. Turn your Tamer off and then wipe off any excess oil.
4. Replace
All of our Tamers come with replaceable blades which we recommend replacing every three to four months depending on usage.
In order to maximize the performance and longevity your Tamer should be brushed, cleaned & oiled after every use. These simple maintenance tips will help keep your Tamer happy and healthy for years to come and protect the investment you’ve made in your professional tools.
